The three usual set-ups
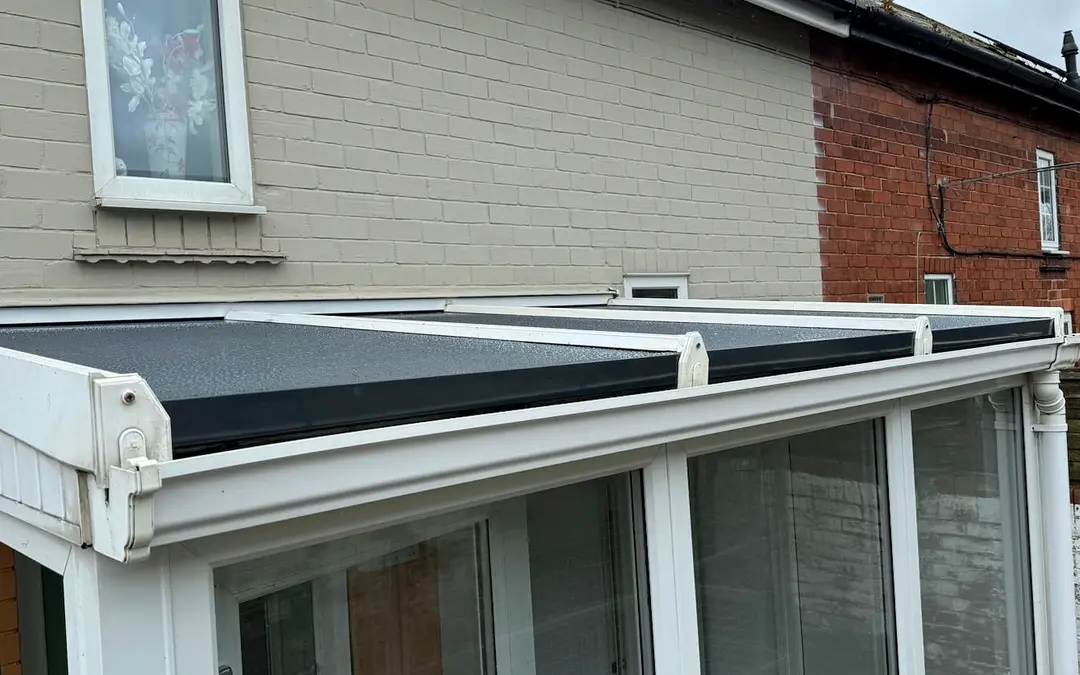
Most rooms end up with one of three arrangements, or a mix. Spotlights give an even wash of light and suit lean-tos, where the ceiling is one long slope. A pendant or small chandelier at the hub suits a faceted roof, where all the bars meet in the middle anyway. Wall lights on the house wall avoid the roof entirely and give a softer evening light.
| Best for | Worth knowing | |
|---|---|---|
| LED spotlights | Lean-tos and long rooms | Low profile fittings sit in the panel; spacing is set out at survey |
| Pendant at the hub | Victorian and Edwardian roofs | Hangs from the hub, where the bars give a solid point to fix to |
| Wall lights | Any shape, softer light | Wired from the house side, so the roof stays untouched |
| Spotlights plus a pendant | Larger rooms used for dining | Two circuits let you dim one and keep the other bright |
Spotlights in the panels
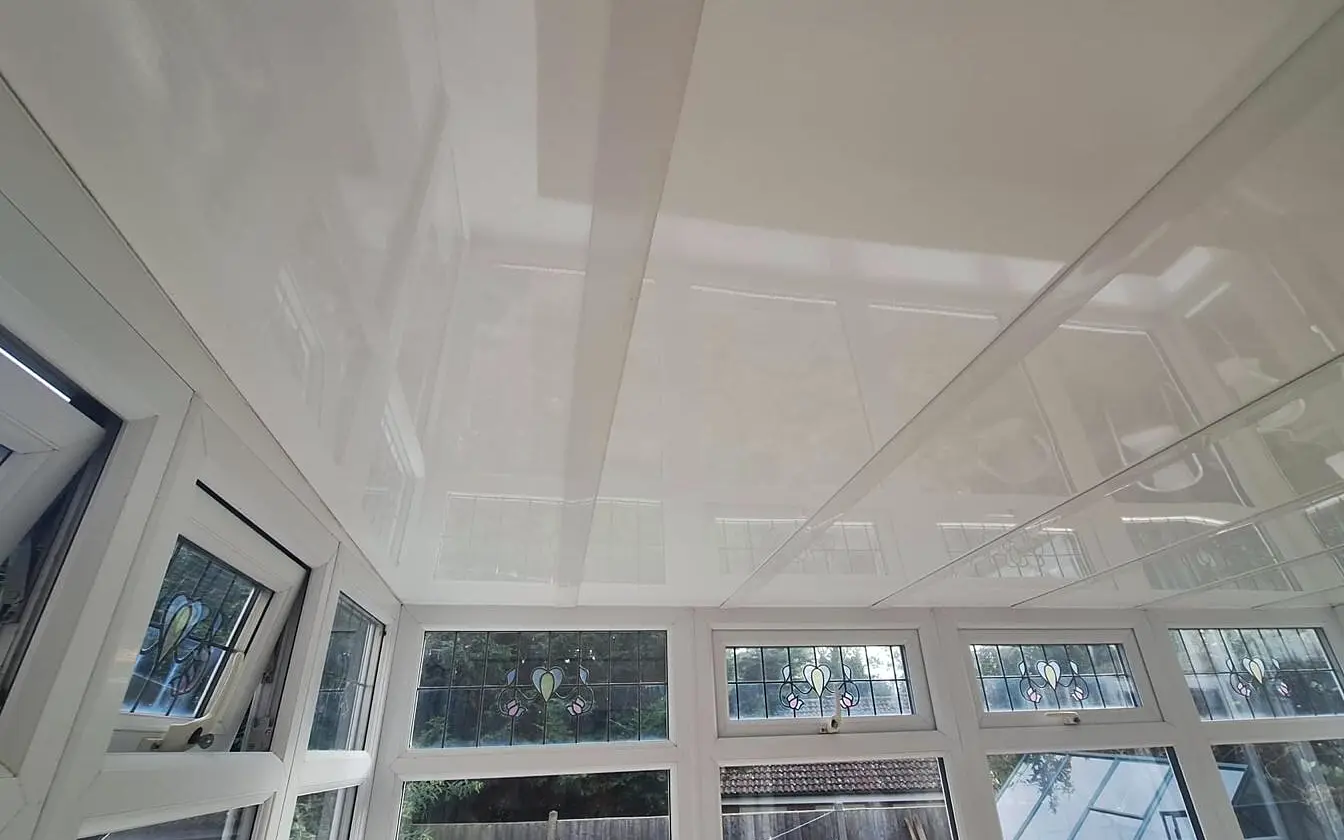
Recessed LED fittings need a shallow hole and very little depth, which is what a 75 mm panel can give. They are placed between the glazing bars, not through them, and set out in rows so the spacing looks deliberate from the doorway. We keep them away from the panel edges and joints so the seal and the skins are left alone.
LEDs are the right choice here because they run cool and draw little power, so there is no hot lamp sitting against the foam. Warm white usually suits a room full of windows better than a cold daylight tone, which can make the glass walls look grey after dark.
A pendant at the hub
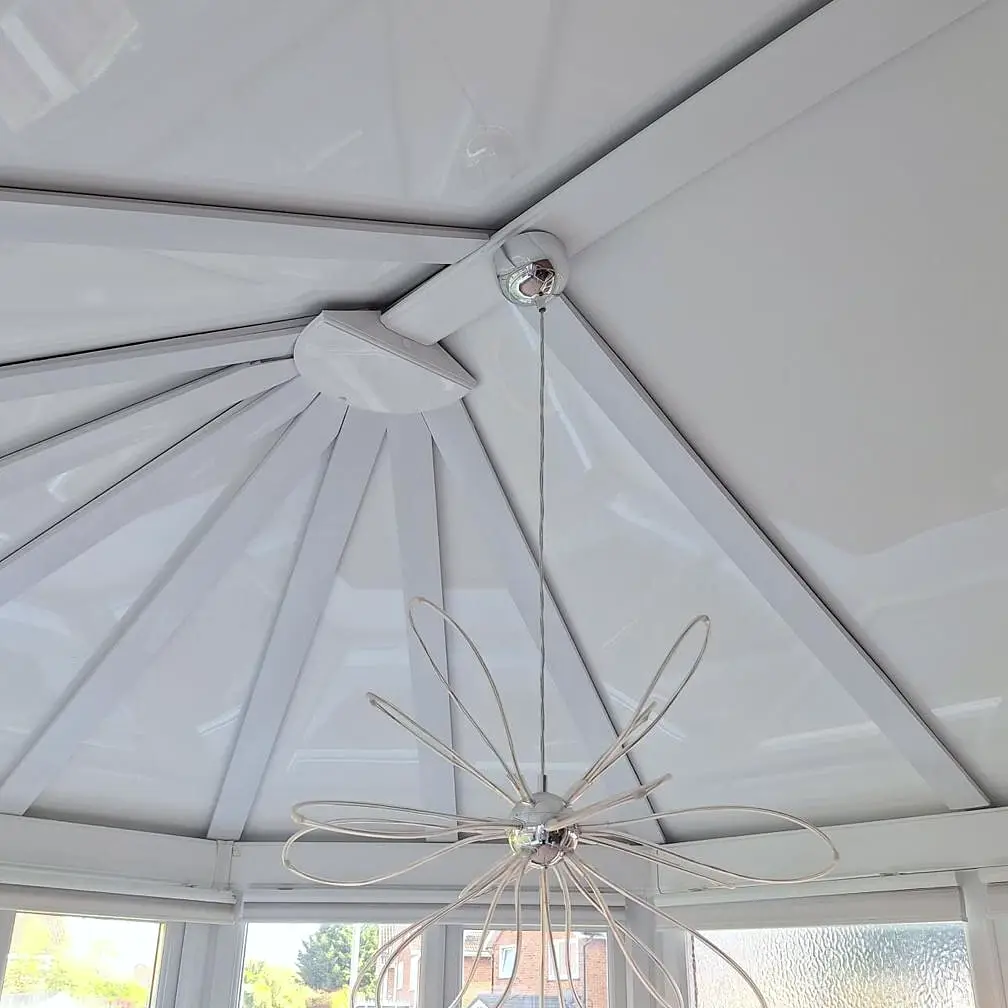
Where a roof has facets, as Victorians and Edwardians do, the hub is the natural place for a centre light. It is where every bar meets, it sits at the highest point, and a fitting hung there throws light evenly across all the facets. The cable can be brought along a bar to the hub so nothing shows on the panels themselves.
Keep the drop sensible. A conservatory ceiling slopes down to the frames, and a long pendant that looks fine at the centre can feel low from the edges of the room.
Planning the cables, and who does what
The most useful twenty minutes of the survey for lighting is the bit where we agree where each light goes and where the switch will be. Once those are fixed, the cable routes can be chosen so they run hidden along the bars or behind trims, and the right panels are prepared for the fittings. Doing it later is possible, but it means working round a finished ceiling.
We look after the roof side: positions, routes and the openings in the panels. Connecting the lights to the mains, the switching and any new circuit are the electrician’s part. You can use your own electrician, and we will agree timings with them so the cables are in place when the roof goes on.
From survey to switch on
- Choose at surveyAgree the type of light, how many, and where the switch goes.
- Mark the panelsPositions are marked on the plan so the right panels are prepared.
- Cables in on the dayRuns go in while the roof is open, hidden along the bars.
- Electrician connectsYour electrician wires the fittings, the switch and the supply.
Getting the light right
A room that is mostly glass reflects your lights back at you after dark, so more fittings at lower brightness usually feel better than a few strong ones. A dimmer helps more here than in an ordinary room. If you are also thinking about daytime light, our page on adding a roof light to a panel roof covers the glazed option, and how bright a solid roof leaves the room answers the bigger worry.
Mention the lights you want when you start the quote journey and the surveyor will bring a plan for them. The finished job photos show a few ceilings with lights fitted.